Erection of Precast Elements
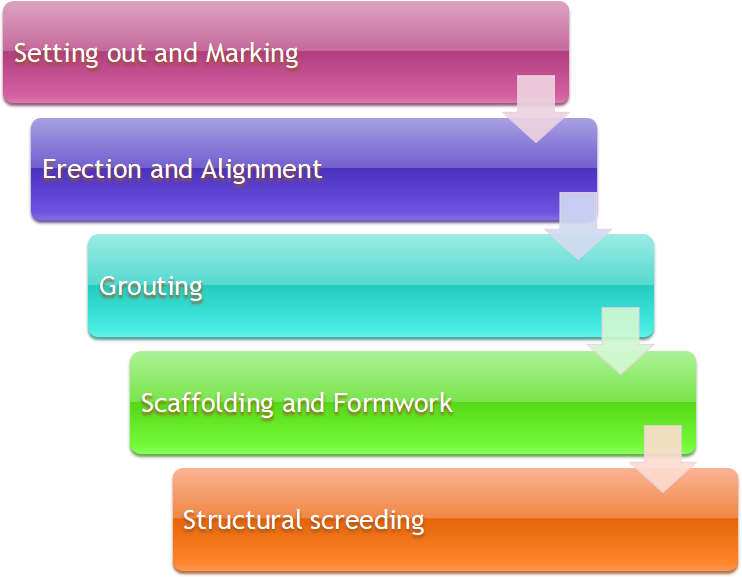
Our Erection Process involves 5 steps starting from Setting out and Marking to Structural Screeding. Our Erection Process involves the following Steps:
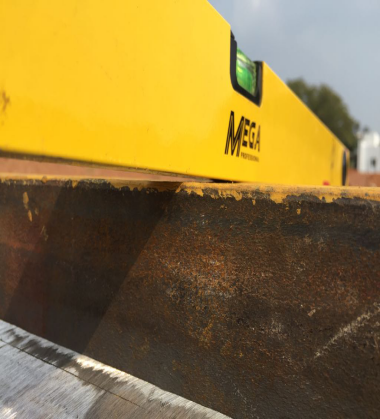
- Setting out and Marking
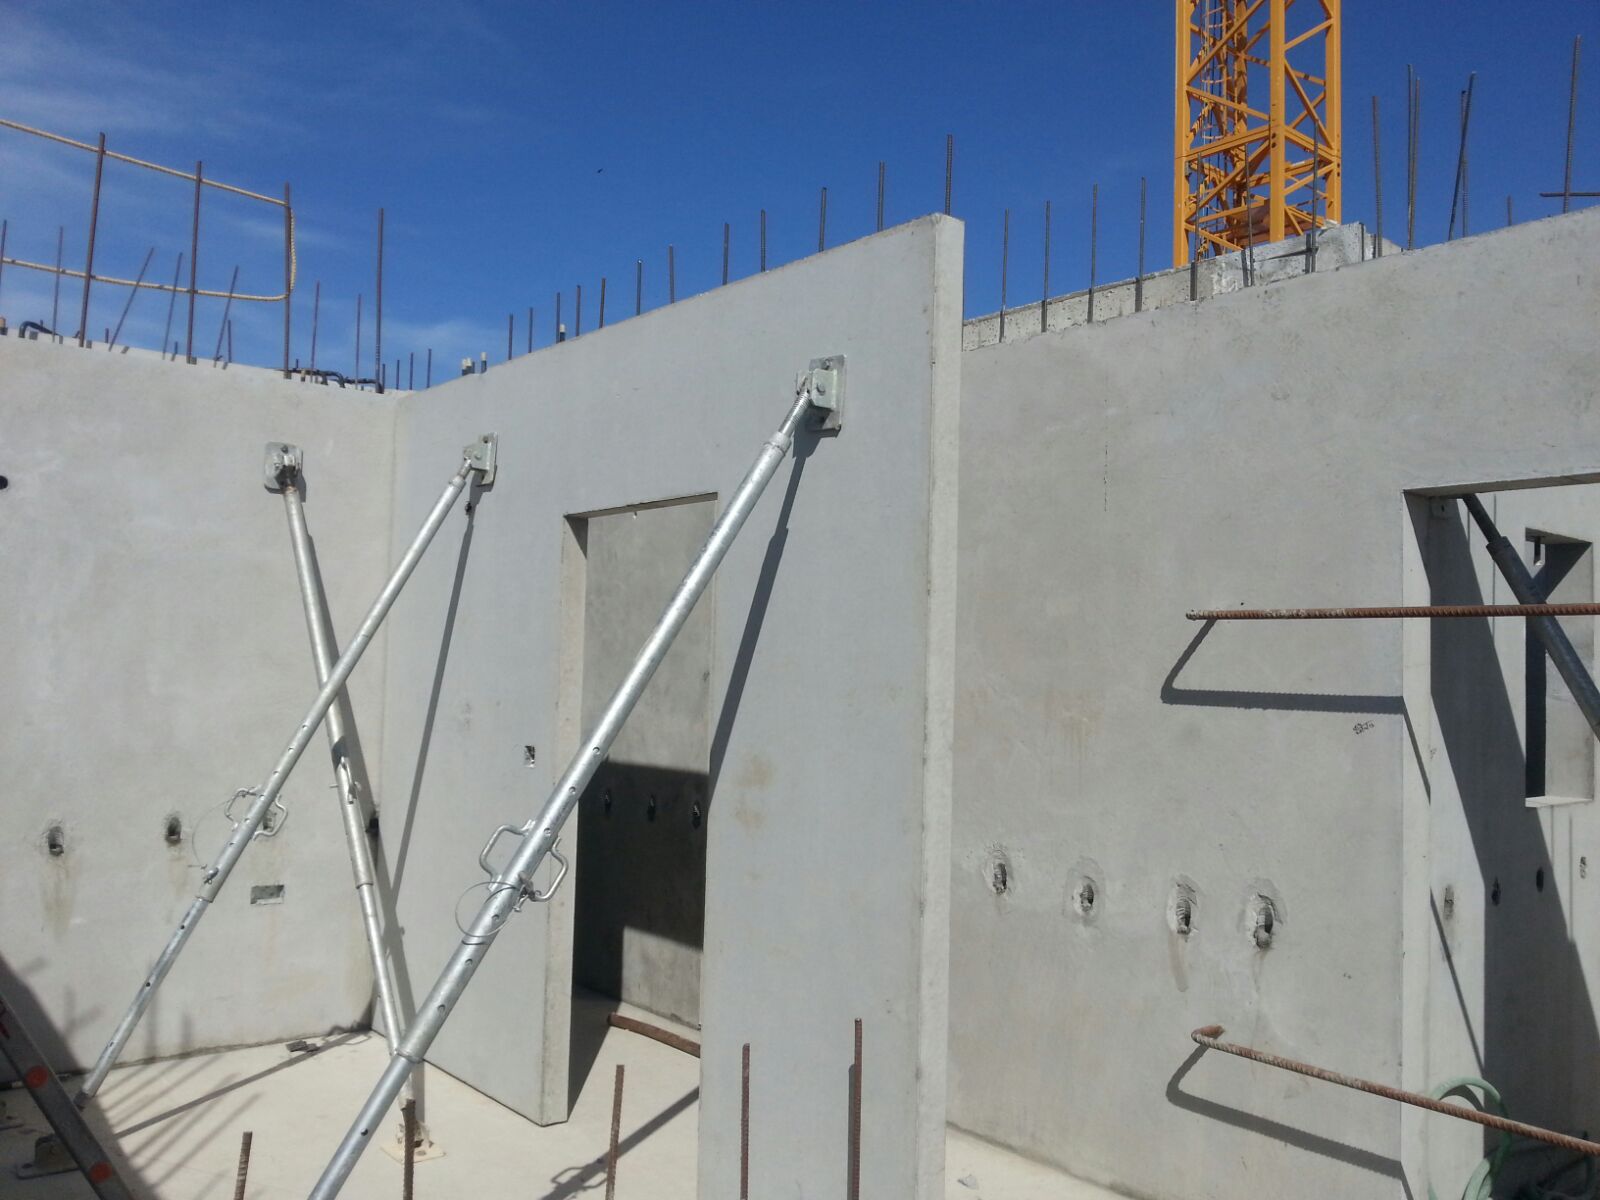
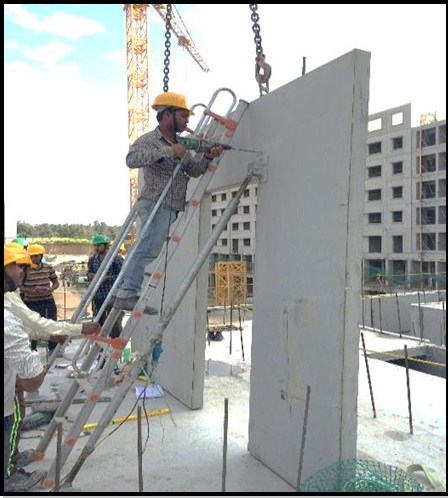
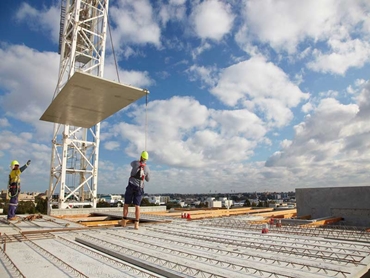
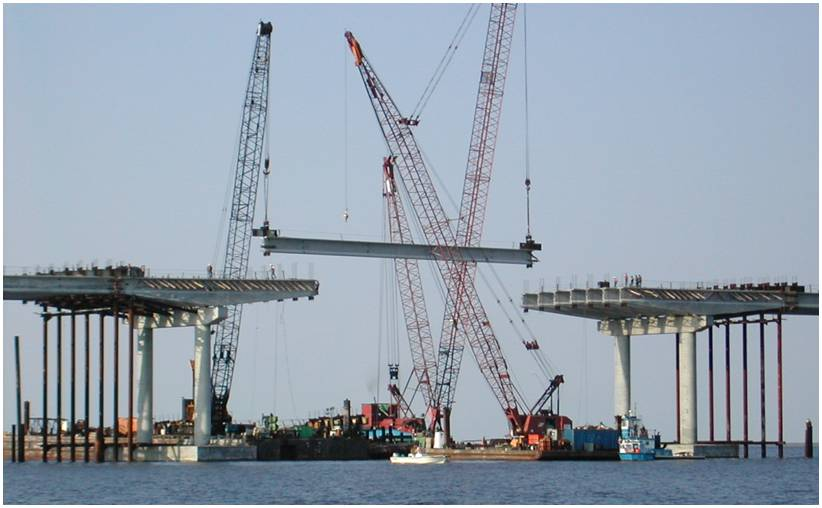
- Erection and Alignment
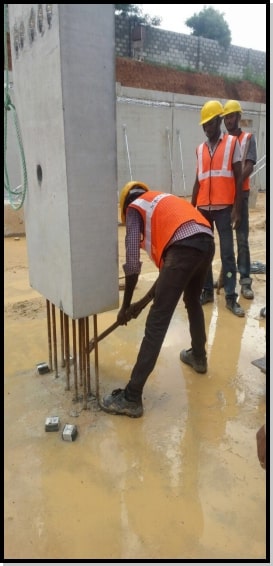
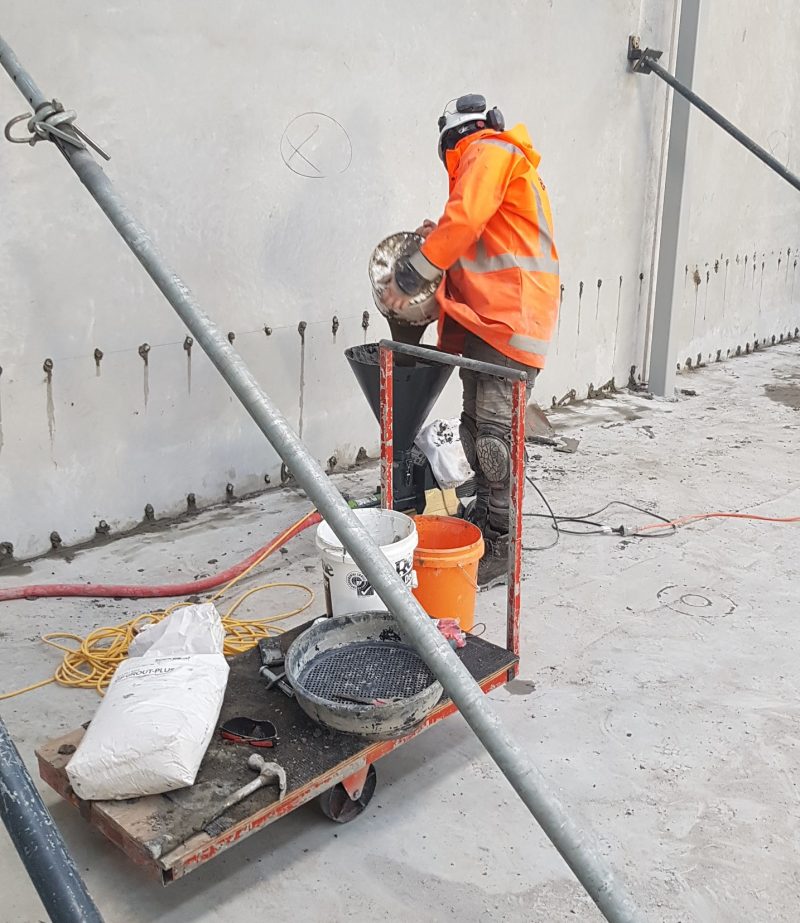
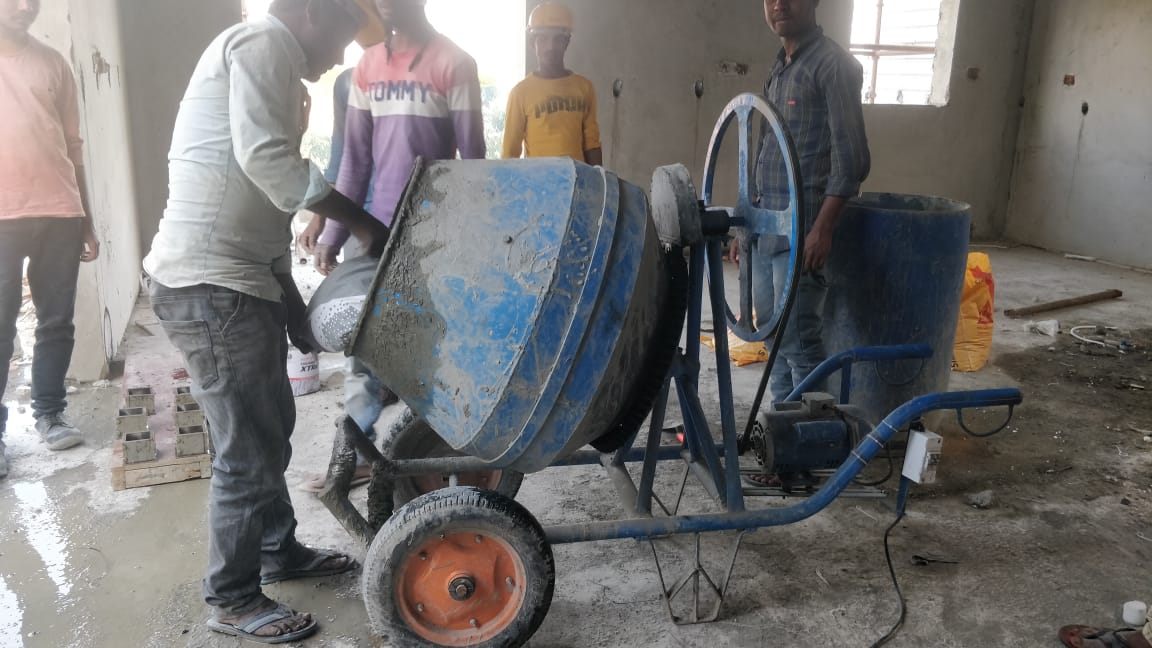
- Grouting
- Scaffloding and Formwork
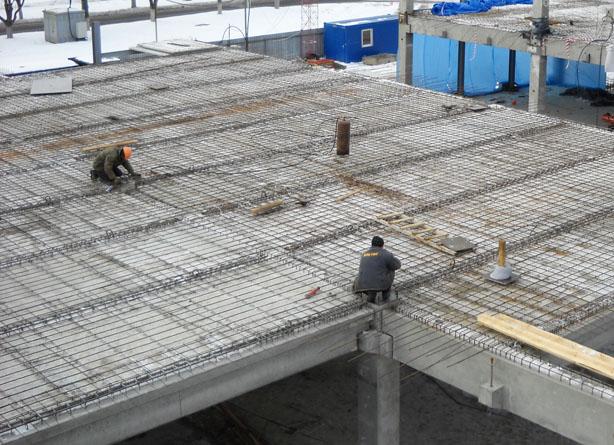
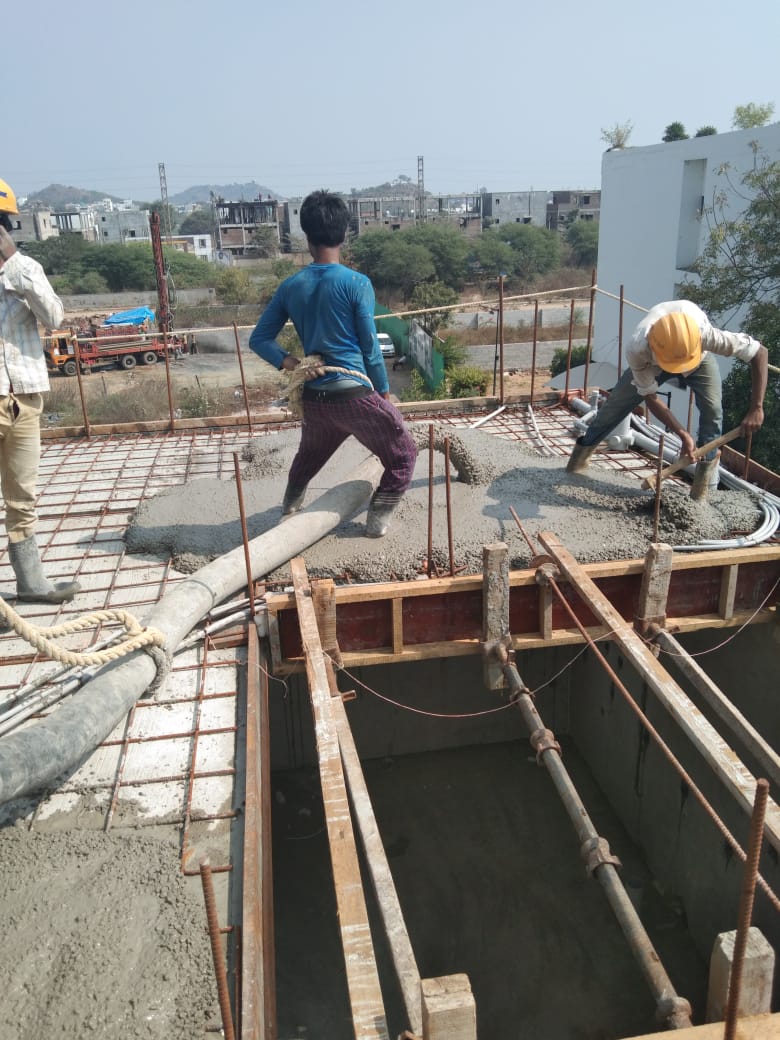
- Structural Screeding